Running QMK on Raspberry Pi Pico (RP2040)
Today, I planned to flash QMK (opens in a new tab) on a Raspberry Pi Pico just to scratch my itch and see whether I could use Pi Pico for my next keyboard. To my surprise, it was fairly easy (or is it?).
Although, I did waste a couple of hours searching through docs (opens in a new tab), existing firmware (opens in a new tab) on the qmk repository, understanding pin layout and bootloader mode. It was enlightening but painful. So here is everything that I learned so that you won't have to waste your time.
info.json for most of the configuration.Basic Firmware
Run qmk new-keyboard command, this will give you the option to choose RP2040 as the microcontroller and will have the required config pre-populated from the start. You will see the processor and bootloader with the following values:
{
    "processor": "RP2040",
    "bootloader": "rp2040"
}
These will tell QMK that you are making firmware for RP2040 or Pi Pico (in my case).
Pins
QMK suggests that you use GPx abbreviation to denote your pins, where x is the pin number. So here is the matrix_pins configuration for my test keyboard.
{
    "matrix_pins": {
        "rows": ["GP6", "GP7"],
        "cols": ["GP21", "GP20"]
    }
}
Layout
Here is my layout. I am not going to deep dive into configuring the layout, docs are your best friend.
{
    // above config...
    "layouts": {
        "LAYOUT": {
            "layout": [
                { "matrix": [0, 0], "x": 0, "y": 0 },
                { "matrix": [0, 1], "x": 1, "y": 0 },
                { "matrix": [2, 0], "x": 2, "y": 0 },
                { "matrix": [2, 1], "x": 3, "y": 0 },
                { "matrix": [1, 0], "x": 0, "y": 0 },
                { "matrix": [1, 1], "x": 1, "y": 0 },
                { "matrix": [3, 0], "x": 2, "y": 0 },
                { "matrix": [3, 1], "x": 3, "y": 0 },
            ]
        }
    }
}
Rotary Encoders
I am using an EC11 rotary, which also comes with a push button (or switch) that we can hook into the switch matrix.
{
    "encoder": {
        "enabled": true,
        "rotary": [
            { "pin_a": "GP10", "pin_b": "GP11", "resolution": 2 }
        ]

    }
}
For the rotary switch, I placed it on the second row and third column (pin: GP19). Thus, We need to update our matrix_pins config from before.
{
    "matrix_pins": {
        "rows": ["GP6", "GP7"],
        "cols": ["GP21", "GP20", "GP19"]
    }
}
And also updating our layout
{
    // above config...
    "layouts": {
        "LAYOUT": {
            "layout": [
                { "matrix": [0, 0], "x": 0, "y": 0 },
                { "matrix": [0, 1], "x": 1, "y": 0 },
                { "matrix": [0, 2], "x": 2, "y": 0 },
                { "matrix": [2, 0], "x": 3, "y": 0 },
                { "matrix": [2, 1], "x": 4, "y": 0 },
                { "matrix": [2, 2], "x": 5, "y": 0 },
                { "matrix": [1, 0], "x": 0, "y": 0 },
                { "matrix": [1, 1], "x": 1, "y": 0 },
                { "matrix": [1, 2], "x": 2, "y": 0 },
                { "matrix": [3, 0], "x": 3, "y": 0 },
                { "matrix": [3, 1], "x": 4, "y": 0 },
                { "matrix": [3, 2], "x": 5, "y": 0 },
            ]
        }
    }
}
Split Keyboard
Next up, setting up the 2 halves. This is no different than making a keyboard with any other microcontroller e.g., pro micro.
{
    "split": {
        "enabled": true,
        "main": "left",
        "soft_serial_pin": "GP1",
        "transport": { "protocol": "serial" },
        "usb_detect": { "timeout": 2500 }
    },
}
The only thing to look out for is giving the correct pin number to soft_serial_pin as QMK only supports serial connection over SP0 or PI0 (opens in a new tab) pins.
Also, if you have a different pin setup on the right half than the left half, then you need to configure split.matrix_pins.
{
    "split": {
        // above config...
        "matrix_pins": {
            "right": {
                "rows": ["GP6", "GP7"],
                "cols": ["GP19","GP21", "GP20"]
            }
        },
    }
}
The same goes for the encoders if they are connected to different pins.
{
    "split": {
        // above config...
        "encoder": {
            "enabled": true,
            "rotary": [
                { "pin_a": "GP11", "pin_b": "GP10", "resolution": 4 }
            ]
        }
    }
}
Lastly, but the most important thing is to specify the serial driver. Without this, the firmware won't compile and the errors are not that helpful.
SERIAL_DRIVER = vendorKeymaps
You can check out the keymaps (and full source) for this keyboard here (opens in a new tab).
Bootloader and Flashing
qmk cli is the only(?) way to flash the firmware, QMK toolbox is useless for RP2040Run qmk flash -kb <keyboard> -km default to flash the firmware. QMK will compile the firmware into uf2 file and then wait for the device...
To put Pi Pico into bootloader mode, connect the board while pressing the BOOTSEL button. You will see a storage device-connected notification, well I did. QMK will flash the firmware as soon as you try to open that storage drive.
NOTE: If you have a new Pico, it might go to bootloader mode the moment you connect the board.
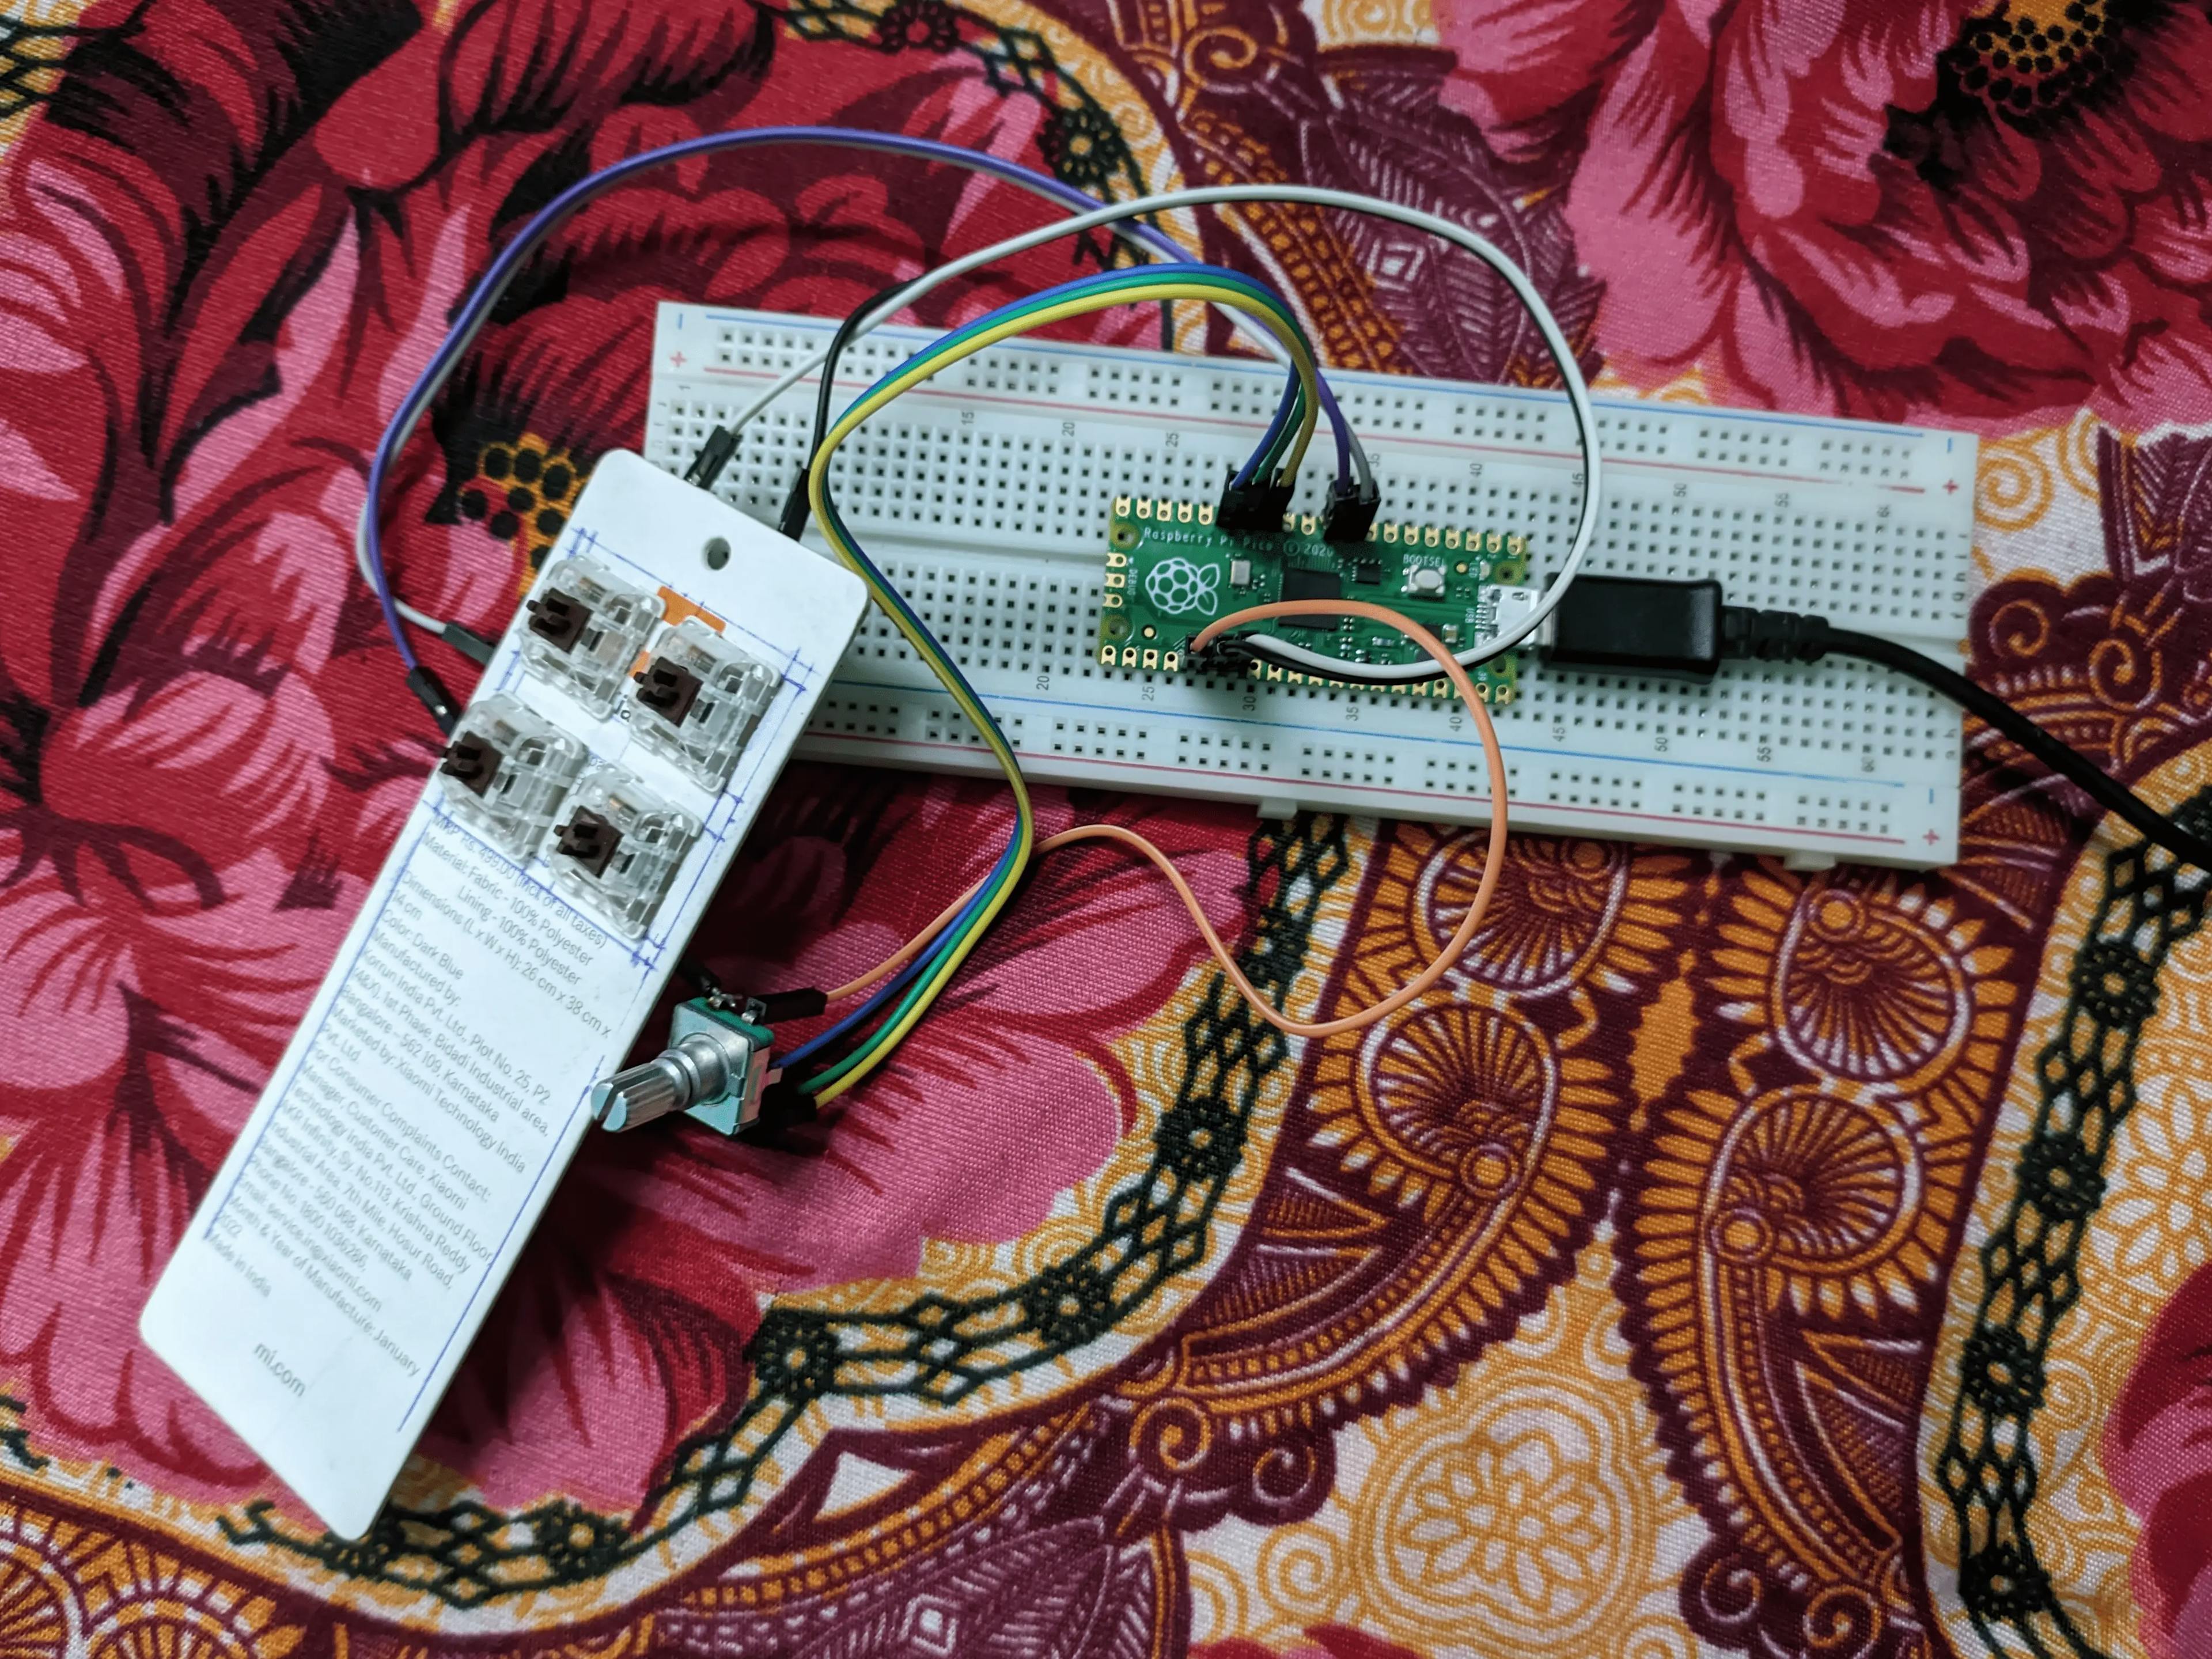
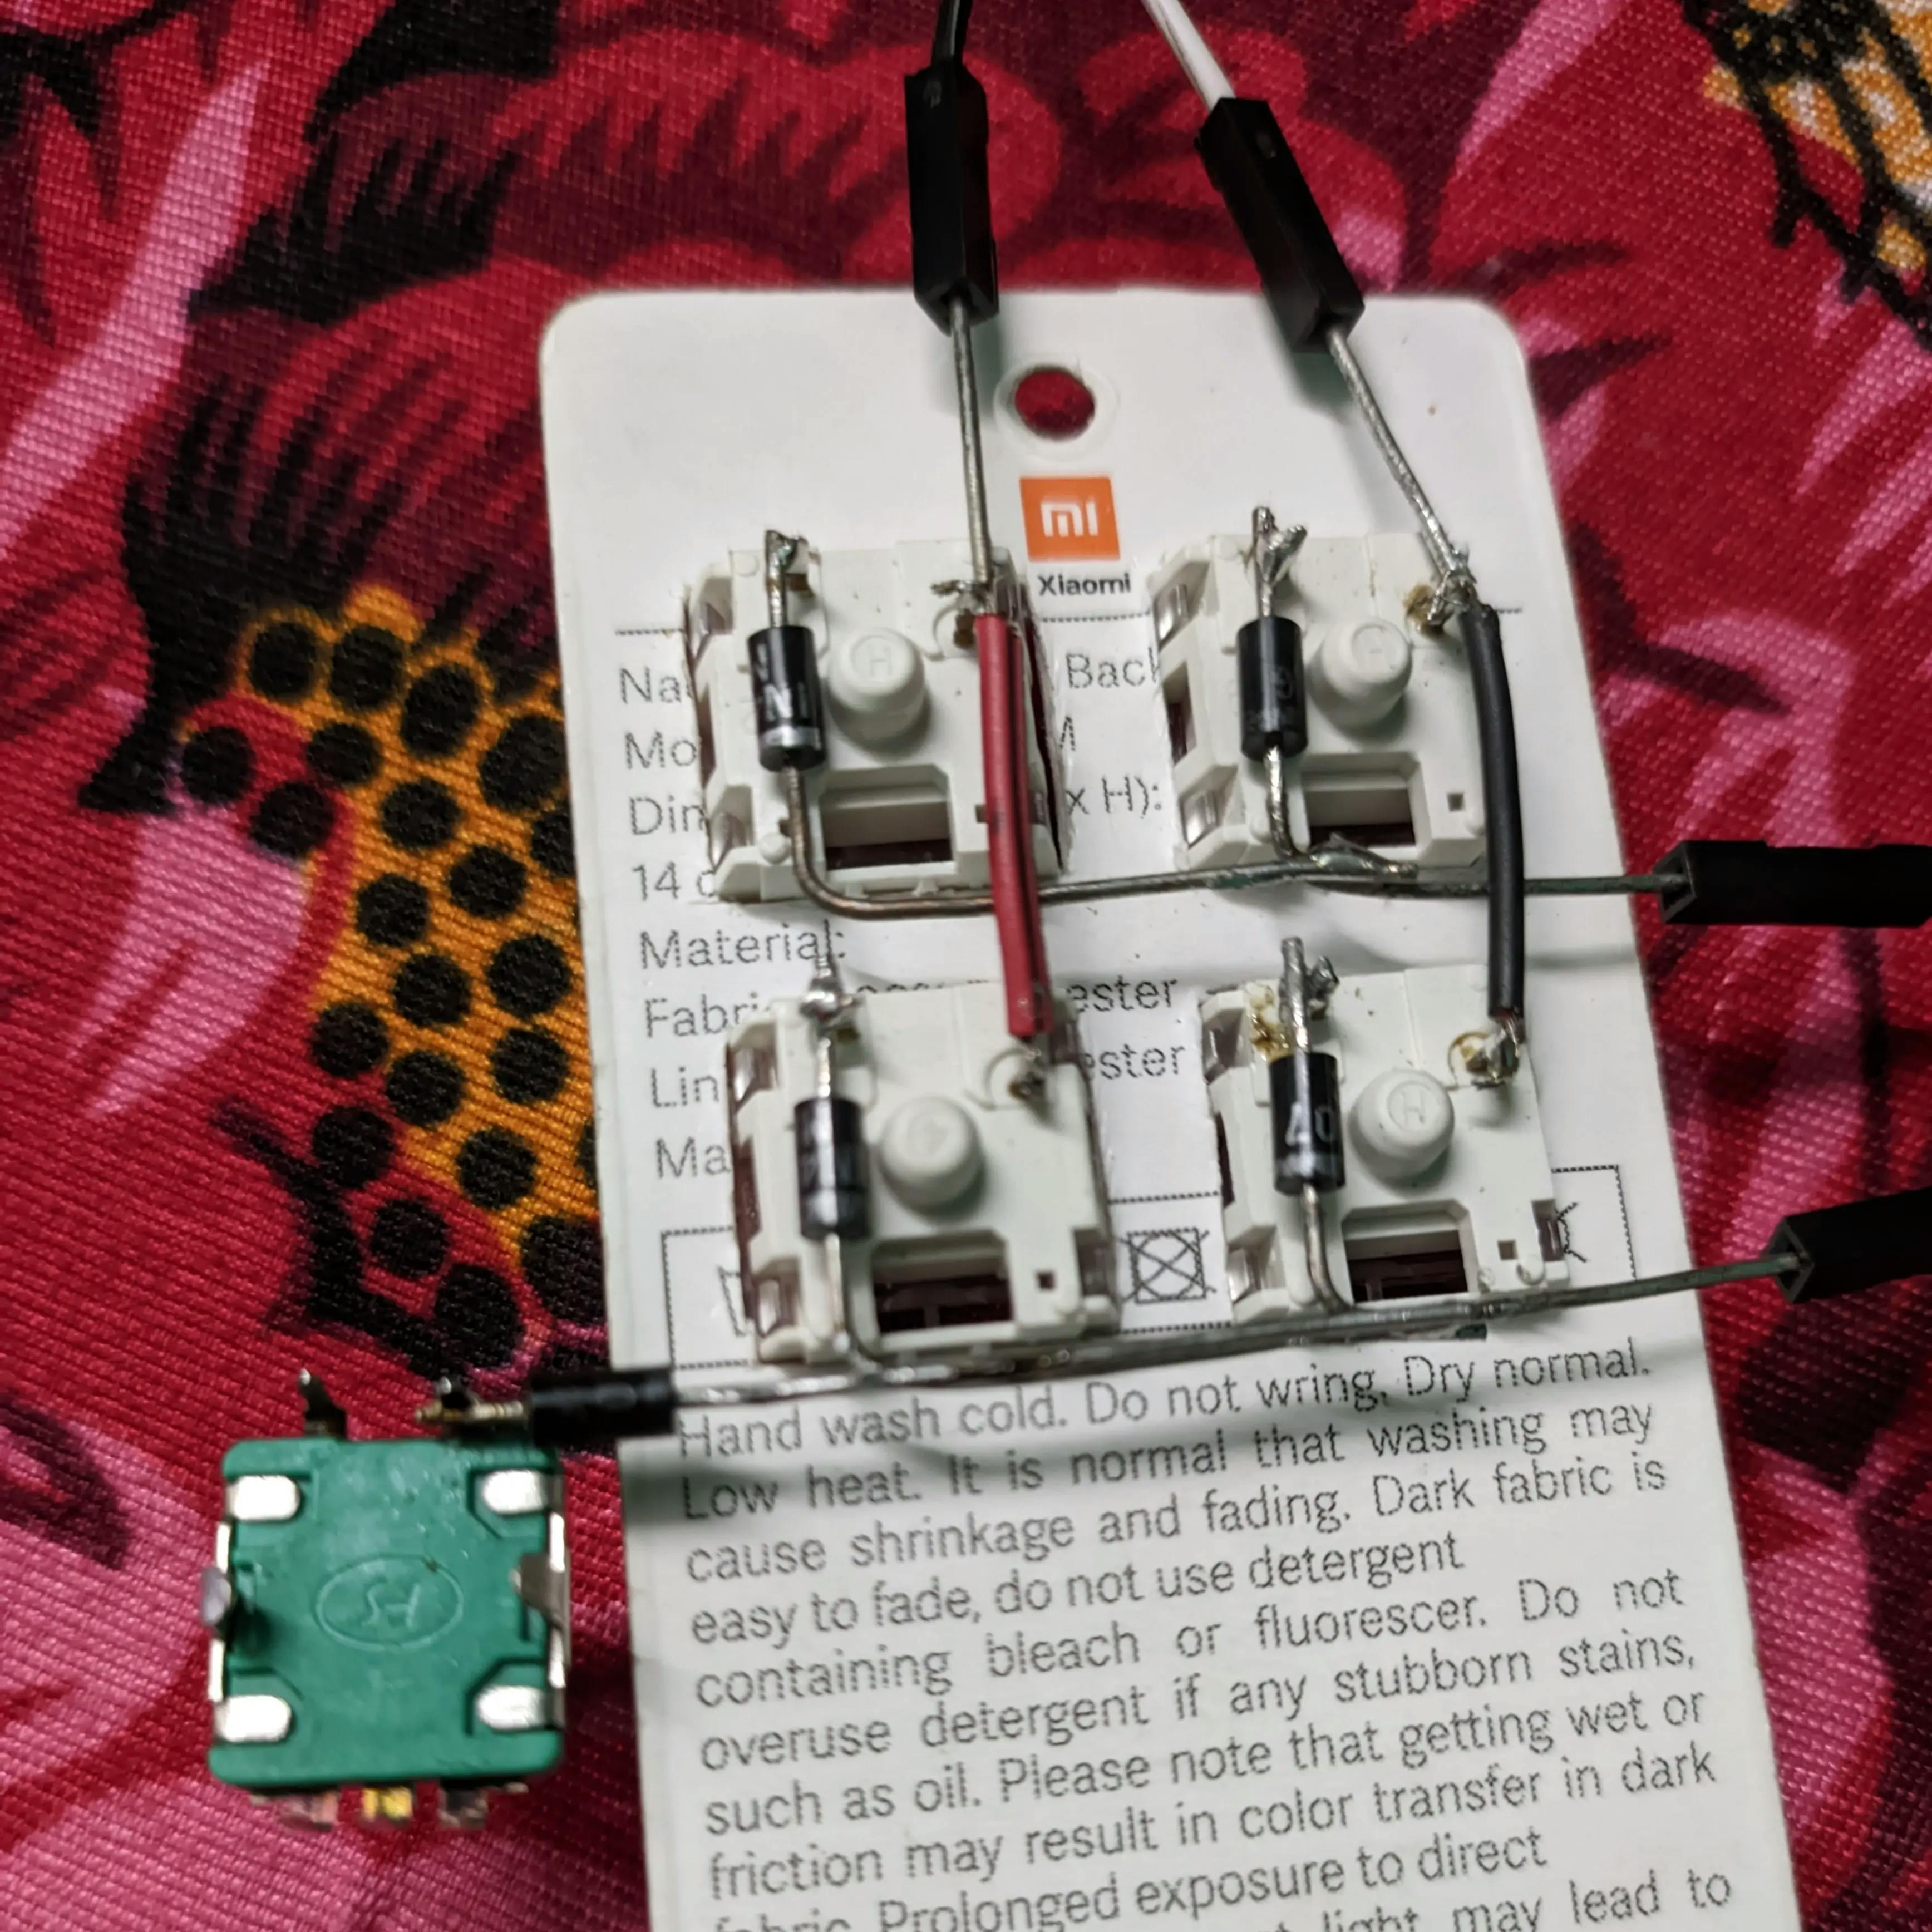
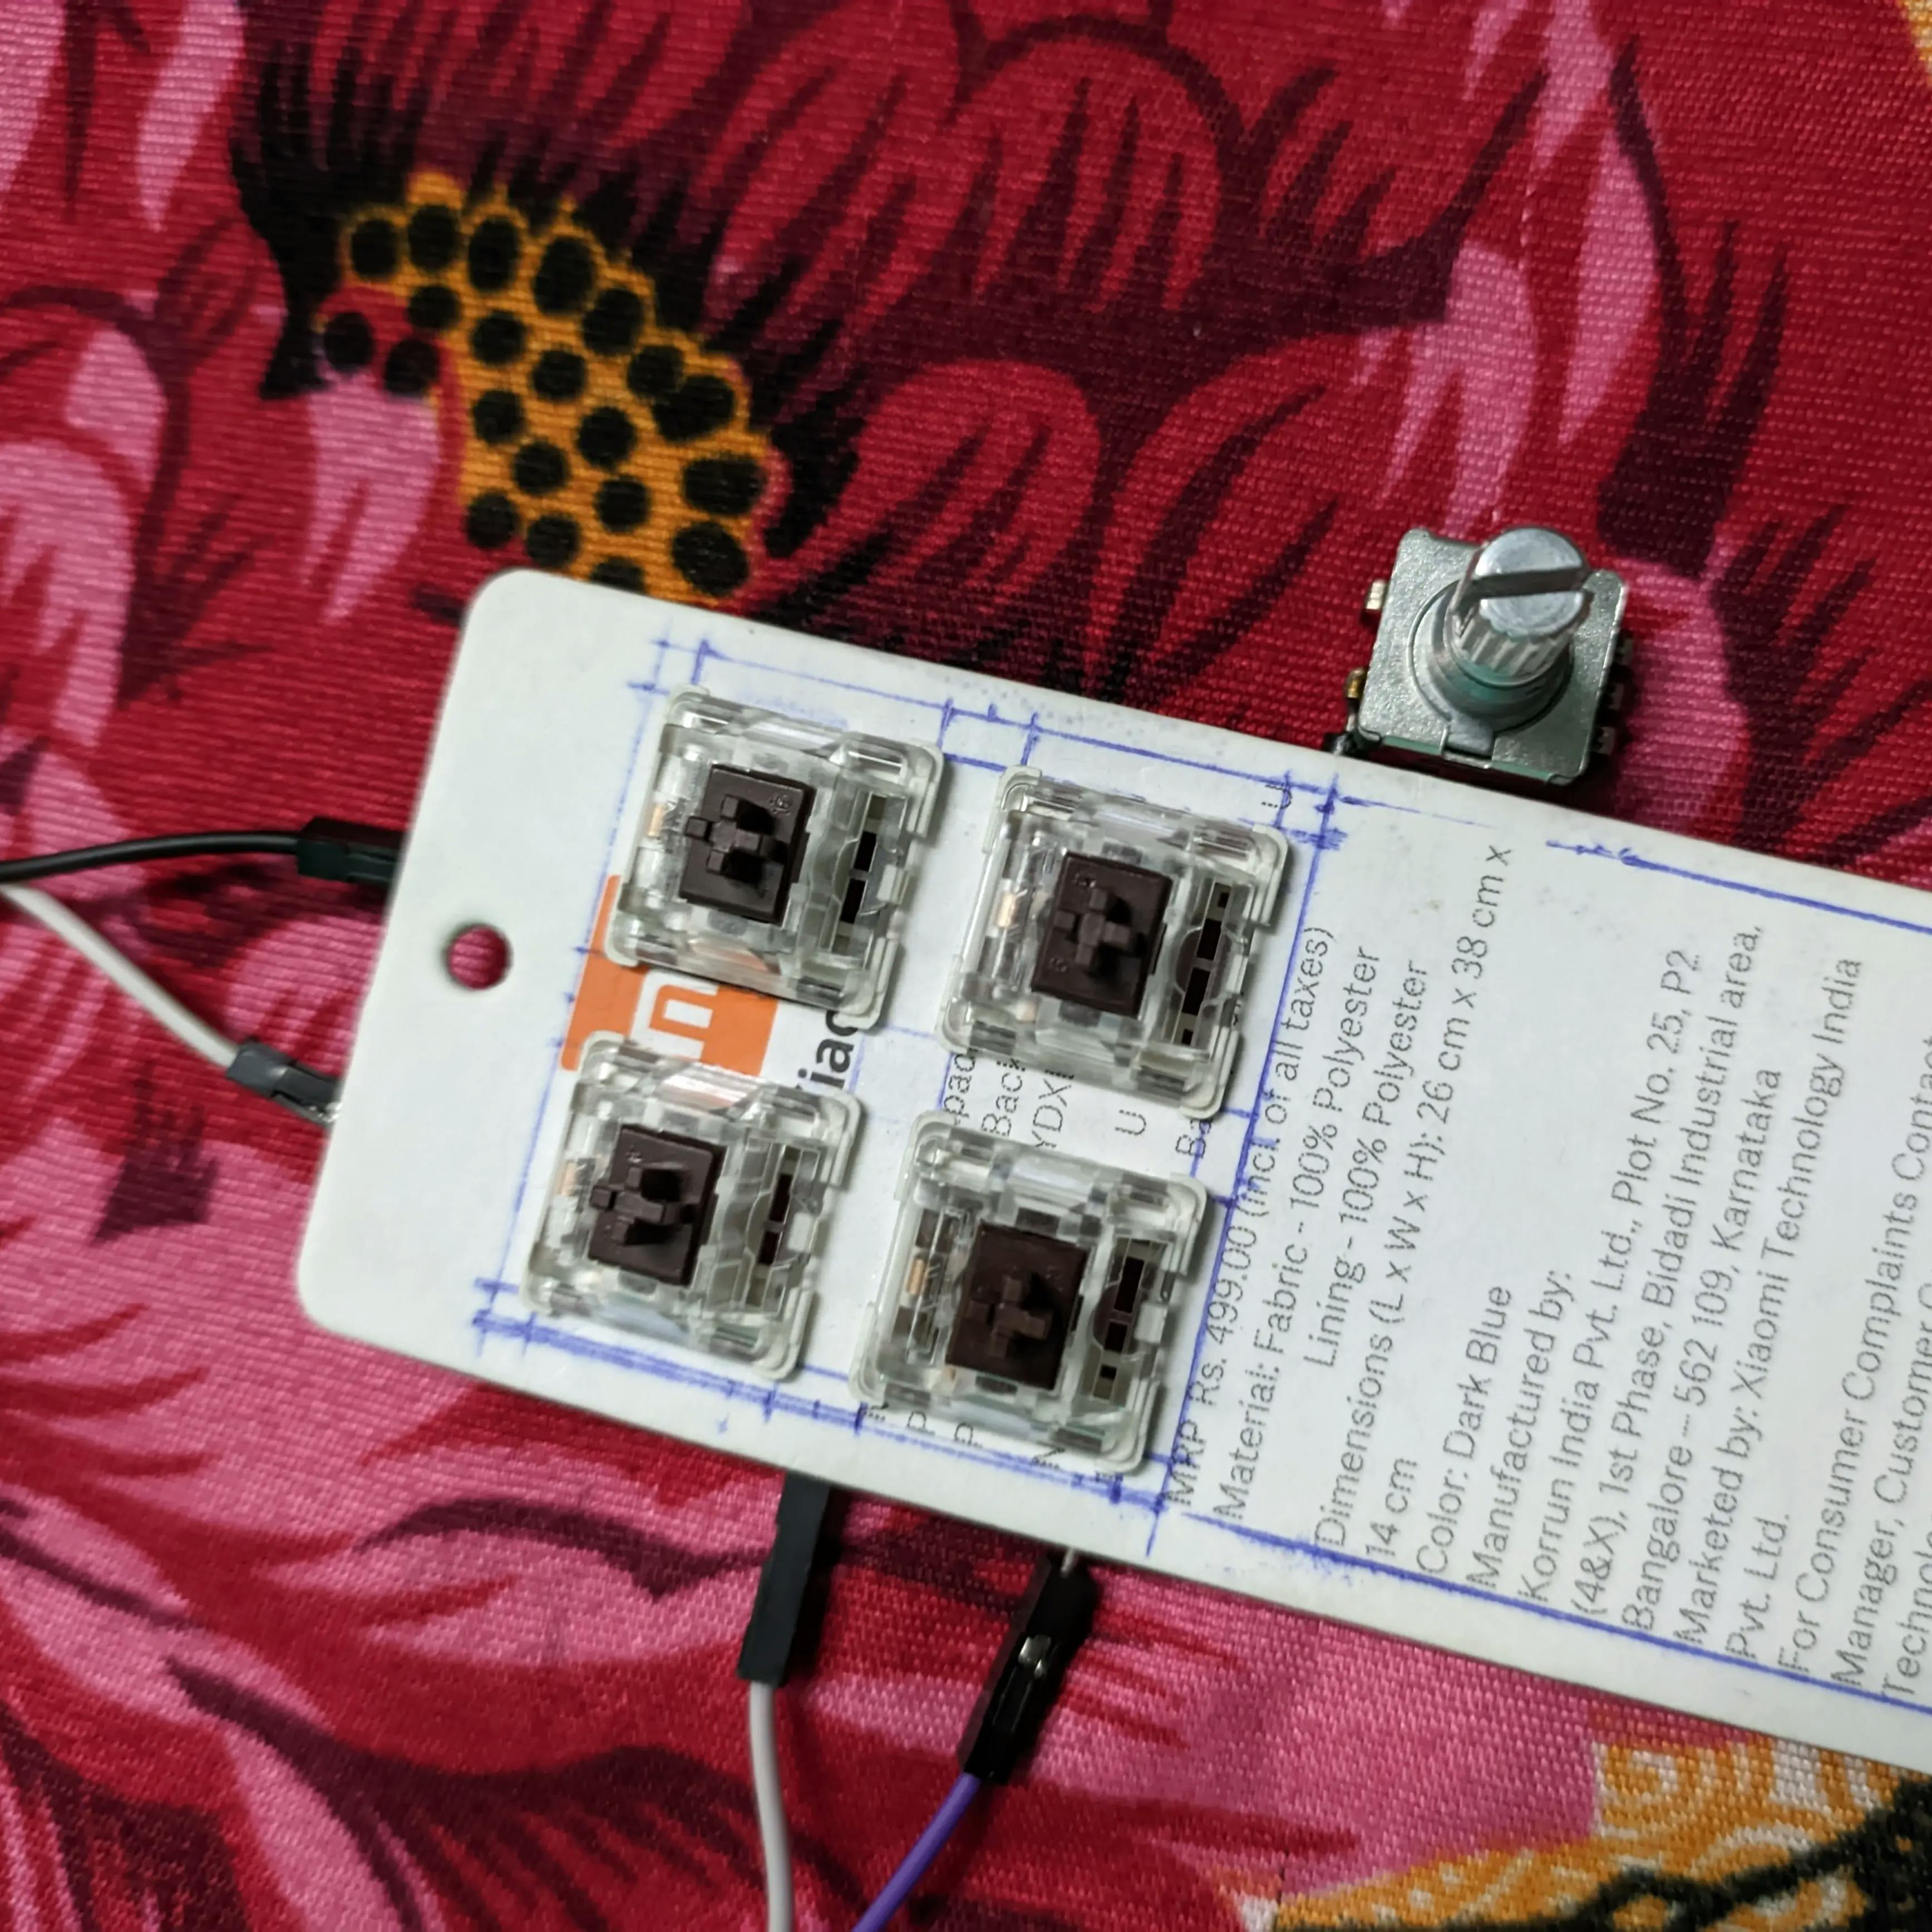
If everything goes right, you will have a Pi Pico Keyboard powered by QMK. Here is mine:


Yeah, I know it's not pretty! Maybe I'll have to make a PCB for it(?)